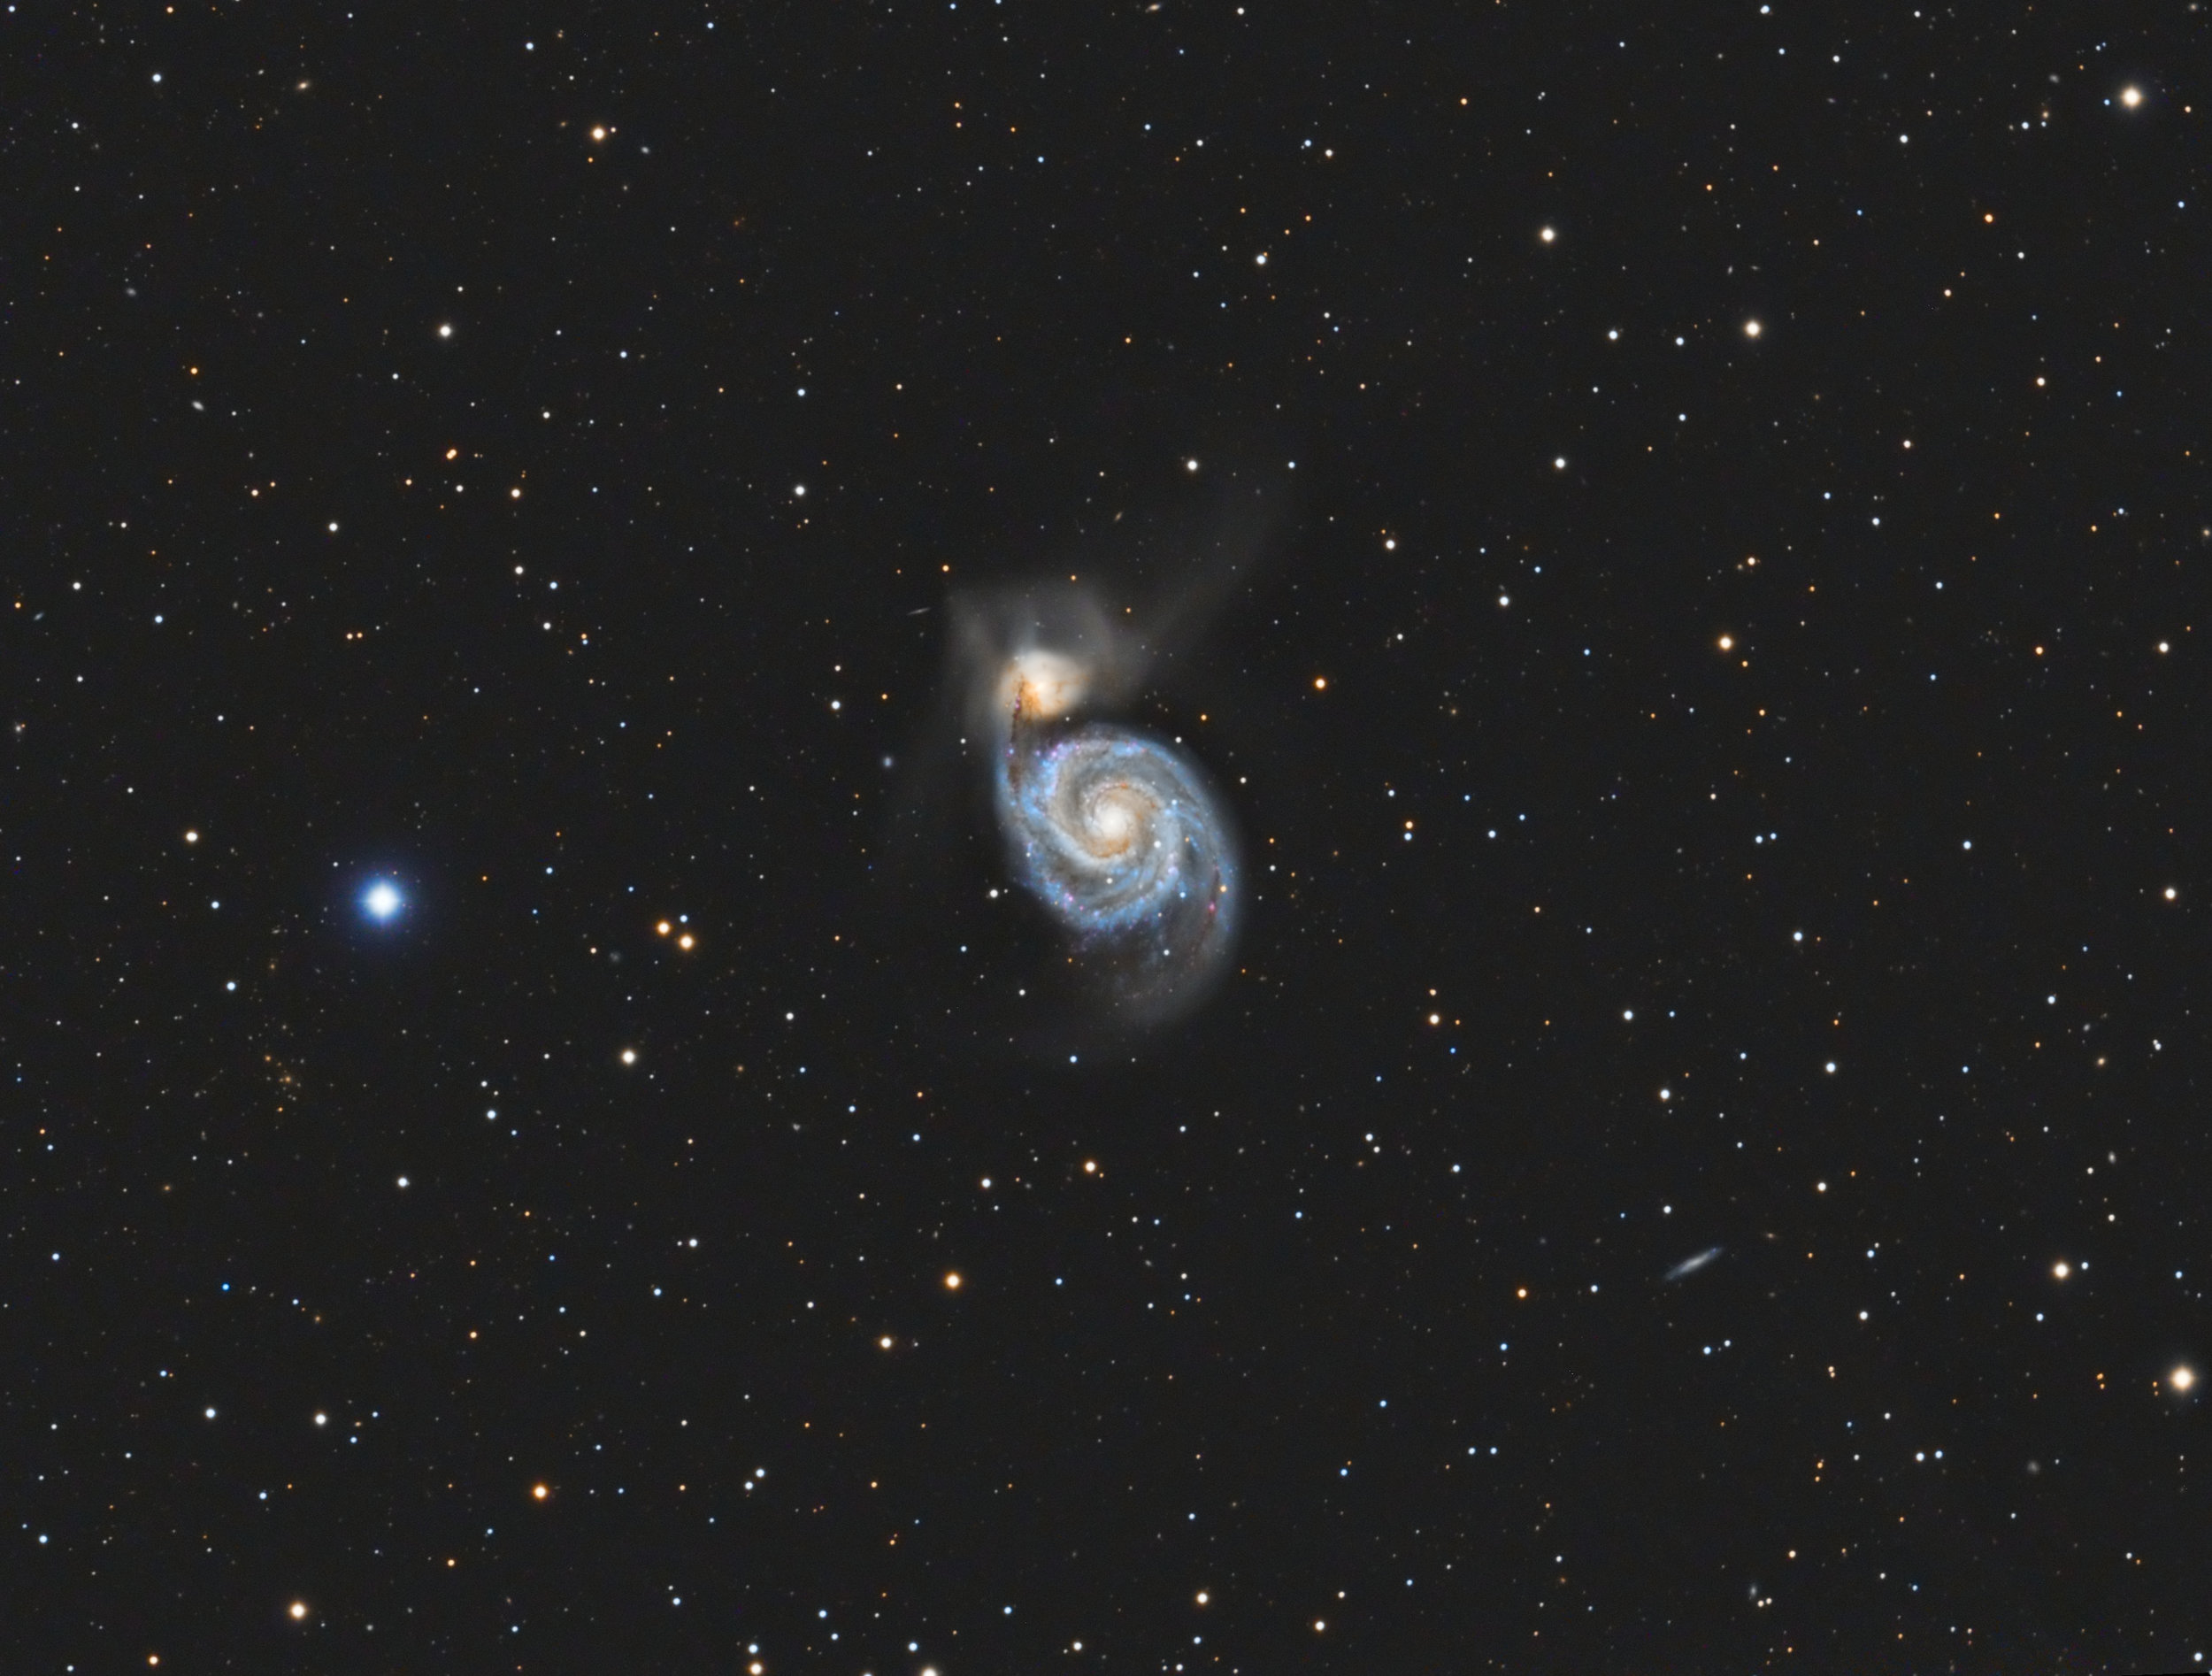
Color Saturation Using a layer Mask in Photoshop
1. Duplicate your original layer by right mouse clicking it and selecting "duplicate layer"
2. Saturate your top layer (I like to use match color for this ) make it really saturated... we will control how much gets added in the next step.
200% is a common color intensity level for me, and remember we will control the amount added in the next step, so be be afraid to really bump it up here. Also i like to use "match color" over "image saturation", because "match color" doesn't add noise.
3. Next alt click the add layer mask button
4. The select a smallish size white brush, use the size you need… smaller brush for small regions larger brush for larger regions. Make sure the hardness is set to 0 and the color is white
5. Then select the mask on the top layer (black square next to thumbnail) if selected it will have a white stroke around it. And start painting in the part you want colored. You brush opacity should be about 20% (an in screen shot above) this will give you control over how much of the top layer gets added to the bottom layer. As you paint in you will see small white tracks begin to appear in the mask thumbnail. If you go too far swap the brush color to black and paint over the area again. So white reveals and black conceals.
6. Once your happy file save as or move on tot he next step
I’ve been a dedicated to Squarespace fan for 20 years. Love the product, people and company.


